TO BE UPDATED: The main Aether II launcher is no logner available, so this guide will cover how to manually install Forge, the Aether II, Optifine, shaderpacks and everything.
How to get shaderpacks working with the Aether II mod. Installing shaderpacks requires some technical work, so you will need to download a bunch of .jars/.zips.
Keep mind that Optifine is required for shaderpacks to work.
Setup[ | ]
You may skip this section if you already have Forge setup fully.
Launch Minecraft and create a new profile. Name it whatever you'd like, but make sure to use version "release 1.12.2", and save it. Launch Minecraft fully then close it.
Download Forge (1.12.2) from here. Download it, install it using "Install client" and hit ok. Start Minecraft again, select the new "Forge" profile, launch and then close Minecraft when it finishes launching successfully.
Jar Files[ | ]
Next, you're going to need to download a handful of .jars, two for the Aether II mod and one for setting up shaderpacks. Below are some links and make sure to drop the .jars into the 'minecraft\mods' folder for your OS.
Windows: %appdata%\.minecraft
OSX: ~/Library/Application Support/minecraft
Linux: ~/.minecraft
With all .jars ready, run Minecraft again to make sure it launches Minecraft with all the mods correctly (if you did, then the Aether II should load), then close it. If you already have the Aether II mod and everything installed, just skip those and download and place the Optifine .jar.
- The Aether II
- Orbis API
- Optifine (choose OptiFine HD U D2 for Minecraft 1.12.2)
The Directory[ | ]
There should already be a "shaderpacks" folder in Minecraft's root directory but otherwise, go to your OS's Minecraft root directory and create a new folder in there titled "shaderpacks". All lowercases, keep mind. Stash your shaderpacks (as .zips or extracted folders) in there, and if you did things right, the folder structure should look like:
.minecraft\shaderpacks\KUDA-Shaders v6.2.81 - Default.zip
OR
.minecraft\shaderpacks\shaderpack name.zip\shaders\.fsh and .vsh files
Final Step[ | ]
Start Minecraft and select Shaders from Video Settings in Options. Use ultra/high packs if you'd like but you may wish to choose low/medium packs if you record or have a computer more than 2-3 years old. If performance is preferred over quality, run lower resolution if in fullscreen, lower render distance, and Enable Smooth FPS (less input lag/steady FPS but lower max FPS) in Video Settings>Performance.
There, you're done, enjoy playing with your shaderpacks!
Note:
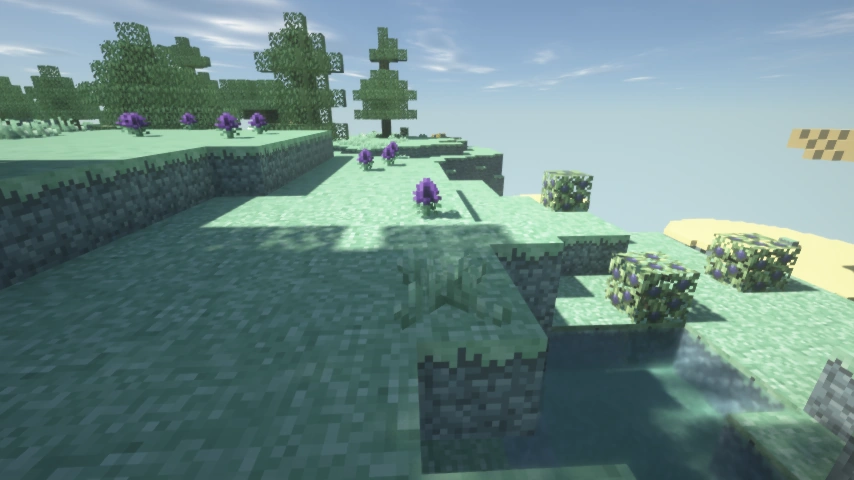
Some shaderpacks may also cause major visual bugs with the Aether II, such as making Crude Scatterglass rainbowy, so avoid using those if you wish to maintain the mod's color consistency. You can still use them, but be warned, some things may look bugged, visually.
Note, all shaderpacks except Sildur's do not render Cockatrices or Tempests correctly.
Shaderpacks[ | ]
Recommended Shaderpacks[ | ]
- Sonic Ether's Unbelievable Shaders Renewed (transparent Highlands Ice and has great darkness values for caves/chasms, though the saturation is a tad bright so you may want to dock saturation down to 0.7 or so)
- Sildur's Shaders (properly renders Cockatrice glow)
- Chocapic13 V6 (has reflective Highlands Ice)
Shaderpacks with Minor Issues[ | ]
- BSL v7.0 Shaders (Irradiated Forests are deeply muted during the night, color wise)
Shaderpacks With Major Issues[ | ]
- KUDA (Makes Crude Scatterglass all bright and rainbowy in color)